Tutorials → How to Build Apps
Snag List App: Next Steps
Let's see what we want to add to our Snag List app next:
App Design: Construction Snag List
Our Snag List app is now capable of displaying a list of "open" snags. The next feature we want to add is the ability to capture new snags. Therefore, we want to add a button to our main screen that takes the user to a screen where they can enter the details for the new snag list item. When they save those details, the new snag list item needs to appear in the list on the main screen.
Add a Button
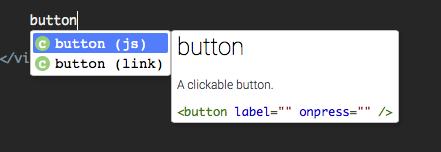
Below the <list> in your Main View, type button and then auto-complete as usual. Select button - link from the auto-complete list as shown below:
Now fill in a label for your button, and choose a name of the link that the button will trigger, e.g. add_new as seen below:
Add a Link
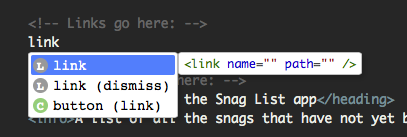
Now we need to define the add_new link. Under "Links go here" in your Main View's XML, type link and auto-complete. Select the plain link option from the auto-complete templates:
Now fill in the name of the link, the same as what you specified in your button. You also need to specify a path. Paths are names that you use to organize your views (as you'll see shortly when you create a new View). In most cases, making the link path the same as the name is the simplest option. Therefore you'll now have:
Now click on the All Views link at the top left of the screen, or on the Views tab in the App Editor's top menu. You should see this:
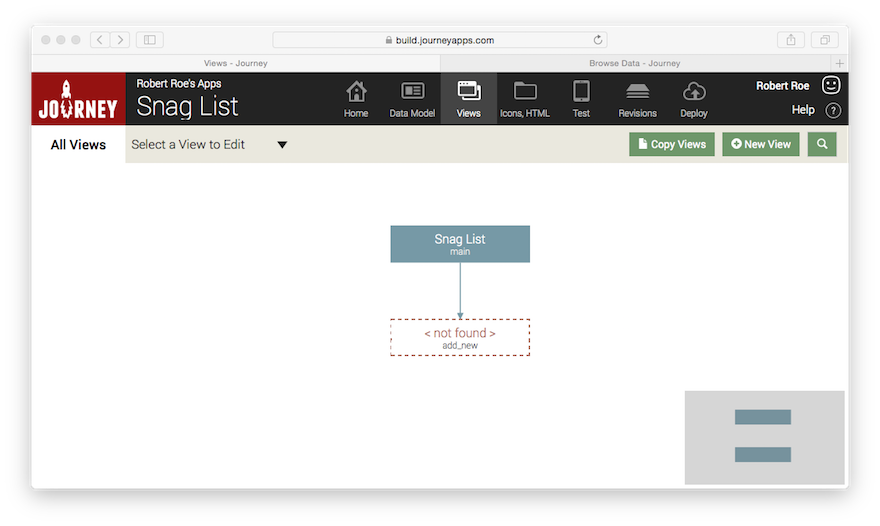
Recall that this is the "flow" of your app — and it's now showing that there's a link from the Main View of your app to another view called add_new that doesn't yet exist.
Add a New View
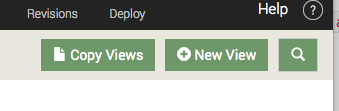
Now we need to create this add_new view in our app. Click on the New View button at the top right:
Choose a title for your view, and then make the Path the same as the path you specified in your link, which is add_new in our case:
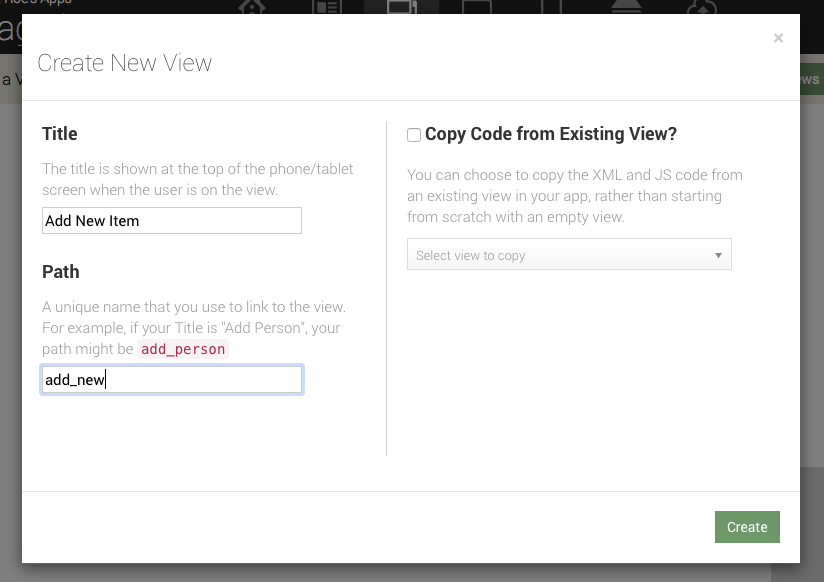
As soon as you hit Create, you'll be taken to your newly created blank View:
![]()
Initialize a Blank Object
Whenever we have a screen where we're creating a new object, we first need to initialize a blank instance of the object in the init() function. Start by adding a variable to your View XML that will store the new snag list item:
And then initialize a new item object (as defined in our Data Model) on the JavaScript side in the init() function. This is done using the create() function as follows:
Set a Default Value
We want our new snag list items to have a Status of "Open" by default (as defined in our Data Model), so let's take the opportunity to initialize the snag list item accordingly — recall that 0 corresponds to the first enum option i.e. "Open":
Add Input Components for Snag List Item
In our Data Model, we specified that snag list items have a photo and comments. The input components we're interested in are textinput (which you saw previously in the Hello World app) and picture. Let's add those to our view now:
Note that in the bind properties, we refer to the attributes of the item object stored in the variable containing our blank snag list item, therefore using the syntax item.comments and item.photo.
We're not done yet! Head over to the next section where we'll finish this part of our Snag List app.