Tutorials → How to Build Apps
Recap: Environments and Staged Deployment
Recall the Environments and Staged Deployment section of the JourneyApps: The Big Picture tutorial. JourneyApps provides the following environments of the App Back-end:
- Testing: This is what you use for iterative testing while you develop apps. When you link a mobile device on the App Editor for testing/development purposes, it is enrolled to this environment, and any changes that you make is automatically deployed to here so that you can immediately test the changes on a device.
- Staging: This can be used by other stakeholders to test a new version of a mobile app before it goes live. When you are building & showing demos, it is recommended that you use the Staging environment to deploy your app.
- Production: This is the live environment where your real-world day-to-day users and data is kept.
Deploy to Staging for Demo Purposes
Let's say you want to release your app for demo purposes, and therefore want to deploy it to the "Staging" environment. This will allow you to carry on with developing the app in the App Editor and "Testing" environment, while other stakeholders could be performing demos of the app in the "Staging" environment completely separately.
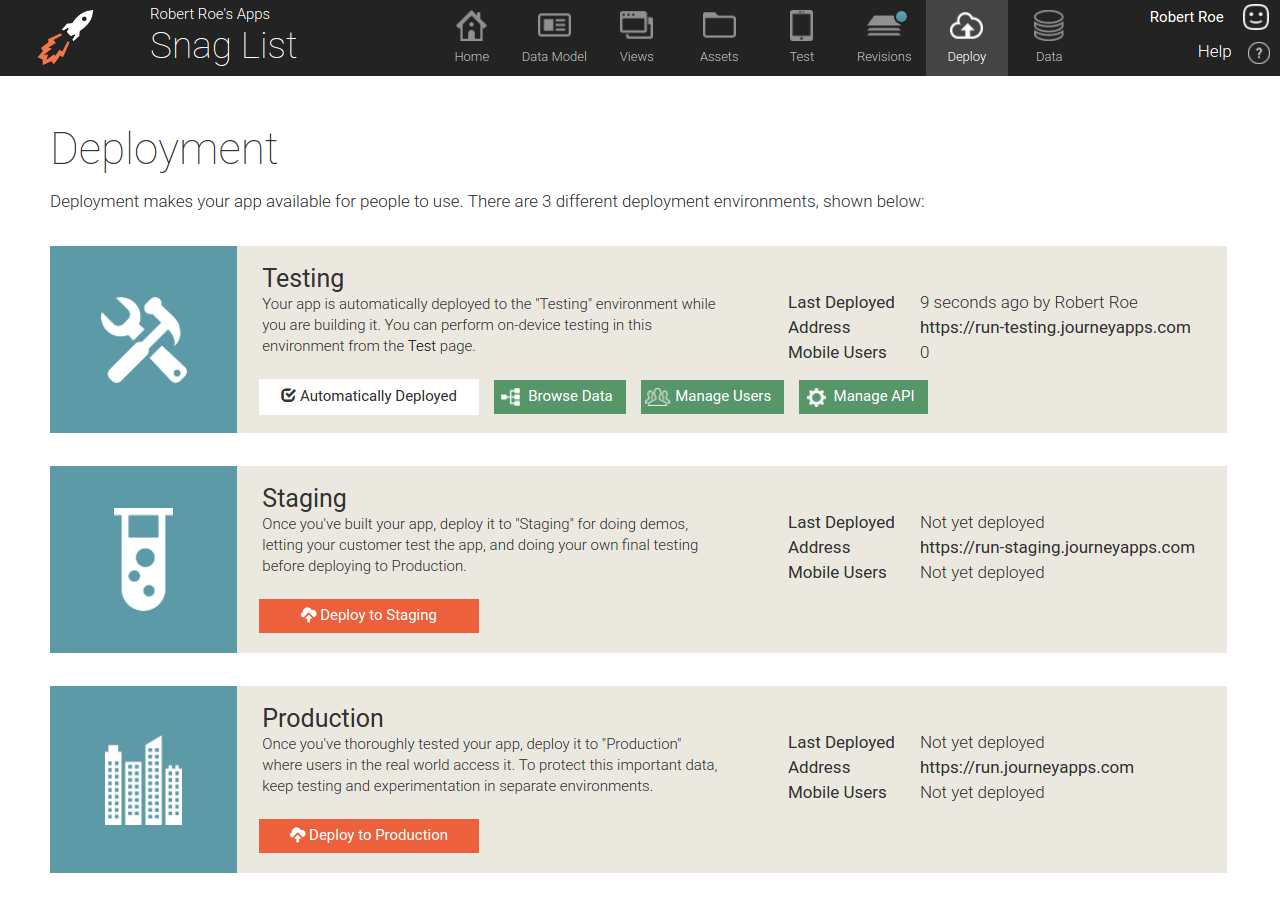
Go to the Deploy tab of the Snag List app again. Deploying is simply a one-click process: Click on the Deploy button next to "Staging".
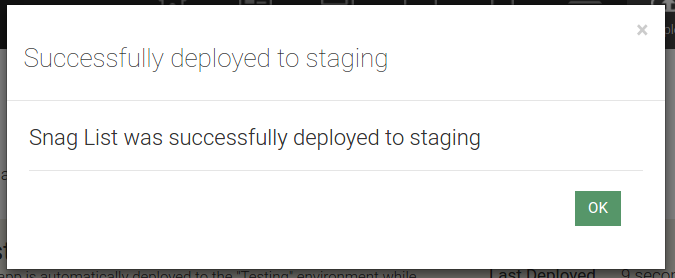
A confirmation dialog will be shown once the deploy process is complete:
Create Users
Previously, to link a mobile device to our app in the App Editor (therefore, linking it to the "Testing" environment), you simply used the Test tab and scanned the barcode from there.
To link users to your app once it has been deployed, however, we need to create user profiles for them on the JourneyApps App Backend (on the relevant environment). Click on the Browse Data button next to "Staging", and then go to the Users tab at the top right.
![]()
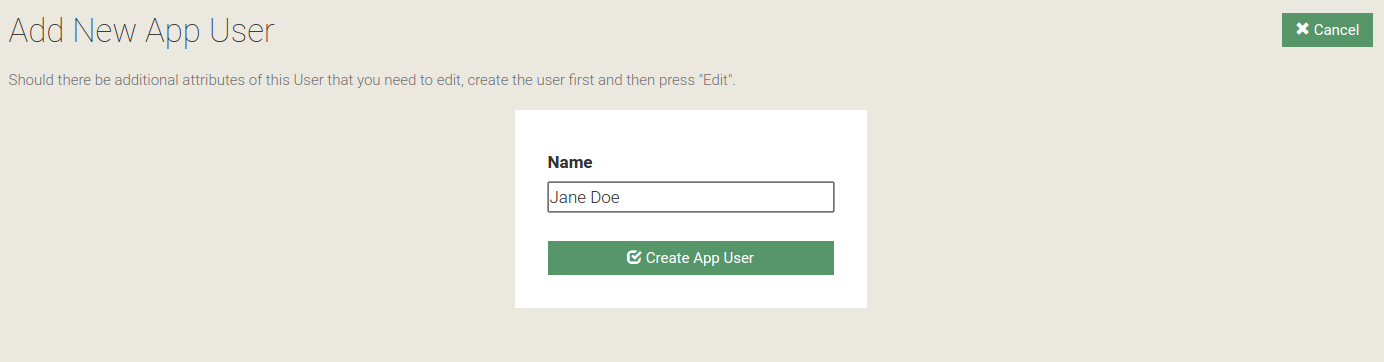
Now click on Add App User and fill in details for the user:
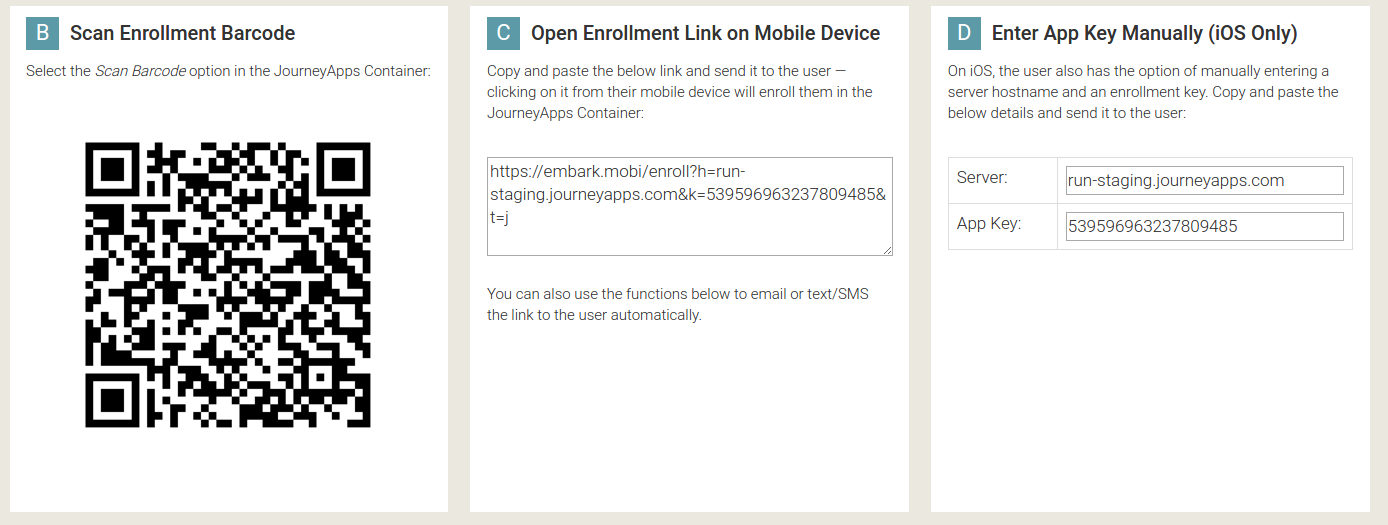
Once the user is created, an enrollment barcode should be shown:
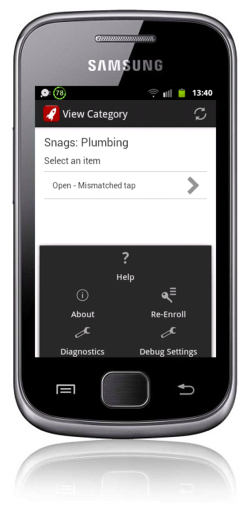
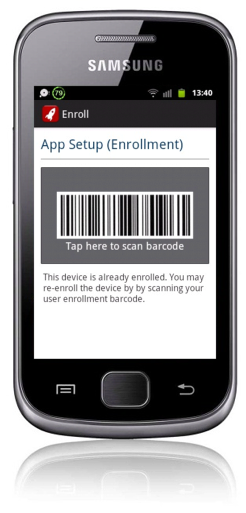
If you want to link your mobile device to the Snag List app on the "Staging" environment, you can press the menu button (the built-in button on Android phones, or the button at the top right of the screen on Android tablets, all iOS devices and Chrome) and select Re-Enroll from the context menu, which will prompt you to scan a new enrollment barcode:
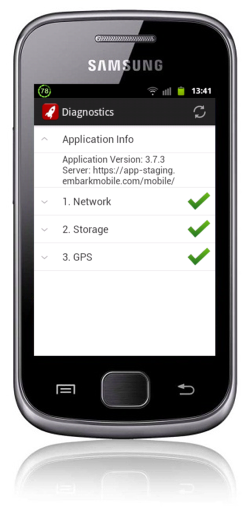
If at a later stage you want to verify to which environment your mobile device is linked, you can select Diagnostics from the context menu, and then expand the Application Info section:
If you refresh the user's page on the JourneyApps App Backend, you should see that it now shows information about the enrolled mobile device:

App Refreshes Differently on Staging & Production
When you were developing and testing your app, you could press the ![]() refresh button at any time and immediately see whatever changes you've made.
refresh button at any time and immediately see whatever changes you've made.
On the "Staging" and "Production" environments, however, you wouldn't want your users to be confused or disrupted by a change in the app when you deploy a new version. Therefore, the app won't refresh immediately for users in the "Staging" and "Production" environments. Instead, changes will only reflect once the user returns to the Main View.