Tutorials → How to Build Apps
Snag List App: Next Steps
Let's look at further requirements for our Snag List app:
App Design: Construction Snag List
Construction sites can be big, so having GPS coordinates of exactly where the snag was captured will be useful for finding and fixing the snag later. We'll extend our app to capture the GPS coordinates of snag list items when they are added.
Add GPS Location to Data Model
The first step towards capturing GPS locations is to add a new attribute to our Data Model to store the locations. Click on the Data Model tab of the Snag List app in the App Editor. Click on Edit XML to edit the Data Model XML. Then, add another attribute by typing attr and auto-completing, filling it in as shown below. Note the type="location", which indicates that our new attribute will store a GPS location:
Add GPS Component to View
Now head back to the Views tab of the Snag List app, and click on the Add New Item view. Then, add a GPS capturing component by typing gps and auto-completing, and then fill it in as follows, binding it to the gps_location attribute that we've just defined in our Data Model:
Test on Mobile Device
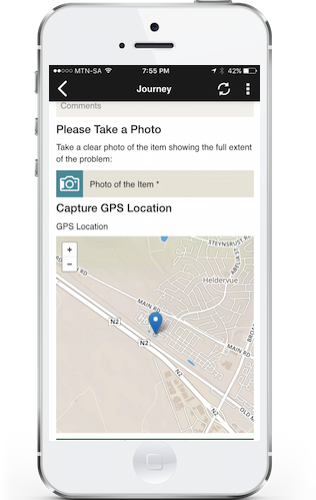
![]() Refresh your mobile app — you should see a map like below. It might take a while to load the map tiles. A blue circle with a dot will appear when a GPS fix is achieved. The circle indicates the accuracy. Normally, we recommend advising users to wait until the circle is at it's smallest to ensure that accurate GPS locations are captured.
Refresh your mobile app — you should see a map like below. It might take a while to load the map tiles. A blue circle with a dot will appear when a GPS fix is achieved. The circle indicates the accuracy. Normally, we recommend advising users to wait until the circle is at it's smallest to ensure that accurate GPS locations are captured.
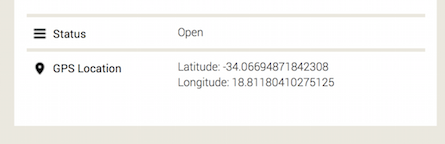
View Captured Coordinates in Cloud
If you go to the Deploy tab again and then to Browse Data for the "Testing" environment, and then view your Items, you'll see that your newly added item shows GPS coordinates: