Tutorials → How to Build Apps
Embedding HTML
JourneyApps offers an html View Component that allows you embed HTML snippets into your apps. This is mostly useful for two purposes:
- Embedding imagery, branding, content, etc. into an app
- Extending the functionality offered "natively" by JourneyApps. For example, you could embed an HTML page that offers some level of interactiveness to create user interface elements or experiences that are not possible to implement natively in JourneyApps.
Add Branding to Snag List App
Let's say we wanted to add some branding to the Main View of our Snag List app. We want to embed the following image:

In order to use images in our embedded HTML, it is best to convert them to Base 64 format so that they can be inserted straight into the HTML and displayed offline. A tool such as Image to Base 64 Converter can be used for this purpose. After the image has been converted, you can place it in a minimal HTML file as shown below (create this HTML file using your favorite text editor). We've shortened the Base 64 data in this example — the full Base 64 text required to display the image is quite lengthy.
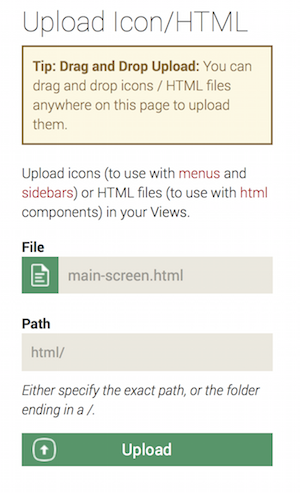
Now go to the HTML & Icons tab of the Snag List app on the App Editor again, and upload the HTML file.
Now head back to the View XML for the Main View of your app. Let's move our View Components to the right column, and add an <html /> component in the left column, referencing the HTML file we've just uploaded:
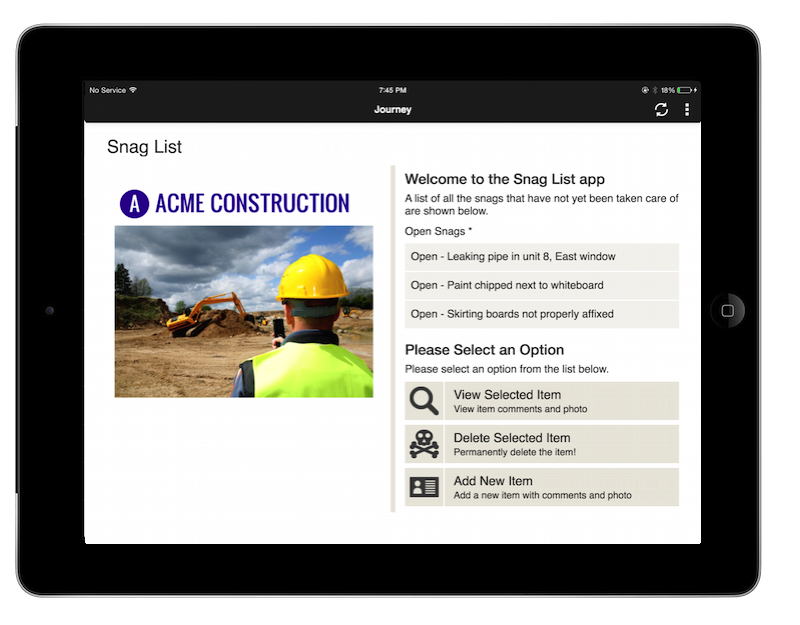
![]() Refresh your app on the mobile device and you should see the branding on the main screen:
Refresh your app on the mobile device and you should see the branding on the main screen: