Tutorials → How to Build Apps
Input Validations
At the moment there's nothing stopping you from creating a blank item on the "Add New Item" in the Snag List app. That's where Input Validations come into play.
To force the user to enter something in an input component, set its required property to true, and then set the validate property of the button to true as shown below:
When the user presses the button, all of the input components that have required set to true will be validated first, before the action that the button is supposed to trigger takes place.
Test on Mobile Device
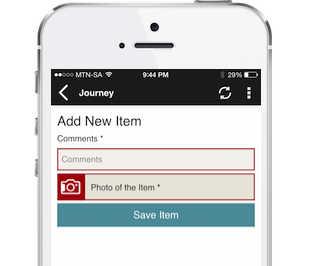
![]() Refresh your app on the mobile device and try to add a blank snag list item. You'll see that invalid fields are highlighted as seen below:
Refresh your app on the mobile device and try to add a blank snag list item. You'll see that invalid fields are highlighted as seen below:
Attribute Specs
Another type of validation that's supported by JourneyApps is specifying the kind of data that can be entered for a specific attribute in your Data Model. This is done by adding a spec property to a particular attribute. Details on all the supported specs are available here in the reference documentation.
For example, if you specify spec="number" for a string attribute in your Data Model, the user will only be allowed to enter digits into an input component bound to that attribute (the keyboard shown to the user on the mobile device will be restricted to digits).
Custom Validations in JavaScript
Any other custom validations that you'd like to perform can be done in the JavaScript. You can create complex logic or business rules in the JavaScript using conditionals and so on, and then trigger a Link to allow the user to proceed depending on those validations.
Further Validations for Snag List App
Let's see what the next requirement for our Snag List app is:
App Design: Construction Snag List
Our snag list app is now capable of adding new snags and then showing them all in a list. Now we want to add a feature that allows us to view an existing snag list item (including its photo).
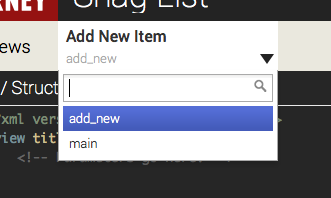
Head back to the Main View of your app. Tip: You can use the drop-down at the top left of the App Editor to switch between your views quickly:
Firstly, because we want to force the user to select an item from the list before viewing it, this is another case where we need to use validations. Therefore, we set required="true" for our <list> on the Main View:
Before we can complete this feature, we first need to learn about View Parameters in the next section.