All View Components → html
Select a view component to see details on how it works:
html
A component that allows you to embed HTML content into a view.
This component is mostly useful for two purposes:
- Embedding imagery, branding, content, etc. into an app (except if you simply need to display a single image — see below).
- Extending the functionality offered "natively" by JourneyApps. For example, you could embed an HTML page that offers some level of interactiveness to create user interface elements or experiences that are not possible to implement natively in JourneyApps.
Displaying Static Images
Please Note: If you simply need to display a single static image, use the display-image component instead of the html component.
Types of HTML Sources
The HTML component can display HTML component from two types of sources:
- A local HTML file that is embedded inside your app (HTML files can be uploaded to your app using the Icons & HTML tab in the JourneyApps Editor) — specify a local path to the HTML file in the
src="" - A remote HTML page — specify an
http://URL in thesrc=""
Tutorial
The Embedding HTML section of the How to Build Apps tutorial provides more detail on how to use the HTML component.
Example — Remote URL
Code in View XML:
Example — Local HTML File:
Code in View XML:
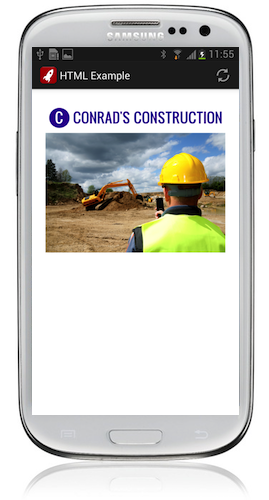
Appearance on a mobile device:
|
|
|
|

|
Configuration
| Option | Required? | Details |
|---|---|---|
src
|
required |
Path to the local HTML source file (if the file was uploaded using the Icons & HTML tab in the JourneyApps Editor), or an online http:// URL.
The value provided can be a Format String if you need to dynamically specify the path or URL of the HTML file. If you are using a remote URL, this can be used to send an argument/parameter to the remote page, e.g. an ID of an object in your app, which could look something like: src="http://example.com/some_page/{form.id}"
|
show-if
|
optional |
Controls whether the component is hidden or shown. The argument specified to show-if can either be a literal boolean value (true or false), or it can specify a variable, parameter or attribute that can be a string, number, object, etc. that evaluates to false or evaluates to true (see the section Show/Hide Components Dynamically for full details).
|
hide-if
|
optional |
The opposite of show-if (see above).
|
Fitting HTML Images to Screen Width
If you are including images in your HTML pages, you may notice that the relative size of the image will appear different on different kinds of mobile devices (e.g. tablets versus smartphones, devices with lower resolution versus higher resolution, etc.). In some cases, the image width might be bigger than the device's resolutions, and the image will be cut off.
To remedy this, set the width CSS property of the images in your HTML file to a percentage. In the example below, we set the width to 100% so that the image is always fitted to the width of the screen:
Notes on the HTML implementation
The WebKit engine built into the platform is used to render the HTML.
Resources (images and stylesheets)
With the current implementation, the HTML cannot reference any offline resources stored on the device filesystem. Online resources may be referenced, but connectivity will be required to render them, and it will most probably not be cached.
The workaround is to embed the resources inside the HTML file by encoding them in base64 format, using the Data URI scheme.
Example image:
When using the same image multiple times, define it in CSS. Example:
This tool may be useful to encode images in base64 format / generate Data URIs.
Scripting
JavaScript is supported.